Comin’ at ya with a little before/after today! Our Master Bath Makeover…
Our master bathroom was fine – slightly boring, but fine, new and certainly nice enough. We were planning to swap out the builder-grade mirrors and light fixtures this year, but we weren’t planning to do anything else anytime soon. In fact, “master bathroom” wasn’t even anywhere on our grand List of Projects (do y’all have one of those?!) But life + a nice little water leak and “master bathroom” quickly got added to the list and bumped to the tippy top.
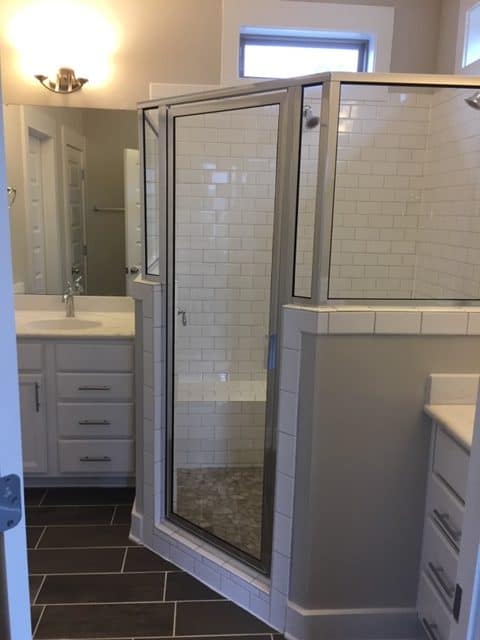
Here’s the “before” of our master bathroom —
A little background/history for you — We looked, casually, at houses for nearly two years before we decided to build rather than buy. Even then, the house/floor-plan that we chose wasn’t truly a custom build, so some compromise was required. I mean, we loved the house! We were genuinely thrilled about it. Still, it didn’t check ALL of the boxes on our wish list. Which, honestly, is normal. Nothing is ever completely perfect, right?
When we found the lot that we wanted, the builder was just about to move forward on a spec home. Everything had been selected and they were about to start building. We had a limited amount of time to go through all of their selections and make the changes we wanted. In a way, this was so much easier than starting from scratch and selecting everything ourselves. But, you don’t know what you don’t know and looking back, I wish I had asked more questions and made more changes. We decided not to change the floor-plan. We really, really liked the floor plan that had been selected and we would have likely chosen it anyway. In this particular plan, the only area that we didn’t like all that much was the master bedroom (including the closet and bathroom). We decided, in the end, to compromise. We don’t spend a ton of time hanging out in the bedroom, so we felt that the kitchen, mudroom, upstairs family/bonus room, etc. that we WERE getting outweighed what the master was lacking. In hopes that it would help, we chose to tweak the original bathroom layout by leaving the corner bathtub out and putting a larger shower in it’s location. That left the intended shower area to become a linen closet. It was the best we could do and we moved forward with the building process happily.
Overall, we were pleased with the way the bathroom turned out. I felt like I should have fought harder for a darker grout on the white subway tile, but it was what it was … and that was that …
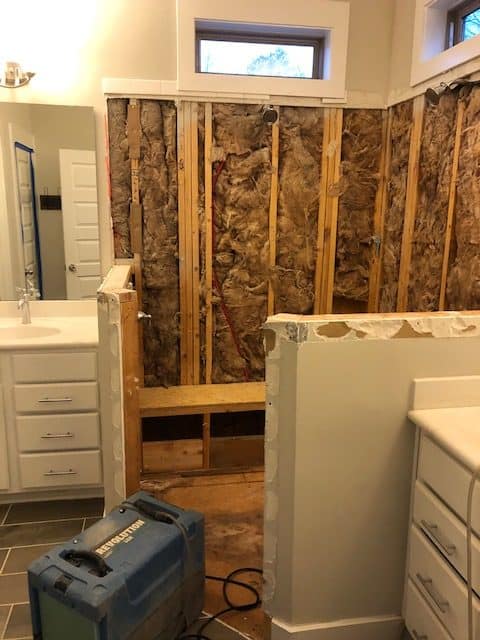
Until we noticed a little water stain on the kitchen ceiling a few (less than 3) years later. That’s never what you want to see! Long story short – there was a crack in the shower floor grout and a few other issues with the floor and we’d probably had a slow leak for quite a while. So, yep – a shower re-do was necessary. And, since everything was coming out anyways (the full shower, but not the main bathroom floors or vanities), we decided to go ahead and re-do some of the things we wanted to change.
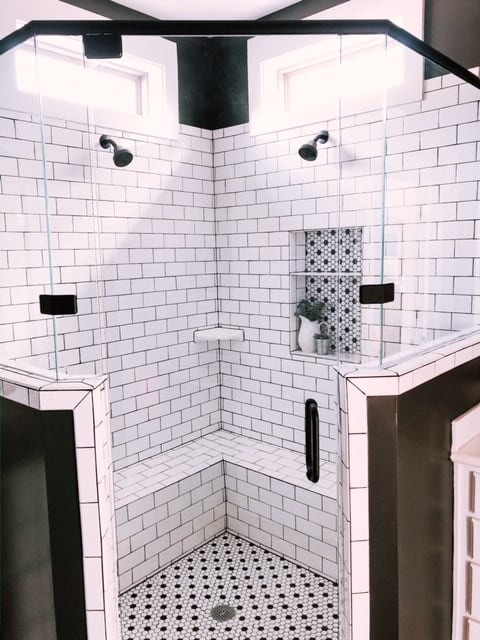
We loved the simple white subway tile, so it went back in, but with a charcoal grout this time … and a cut-out for toiletries, etc. We swapped the shower heads out for matte black and selected seamless glass for the shower door. We painted the walls Iron Ore from Sherwin Williams and swapped out the mirrors and light fixtures. And, finally, we added wallpaper to the toilet room (what is that tiny room called anyways?!)
Here’s the AFTER …
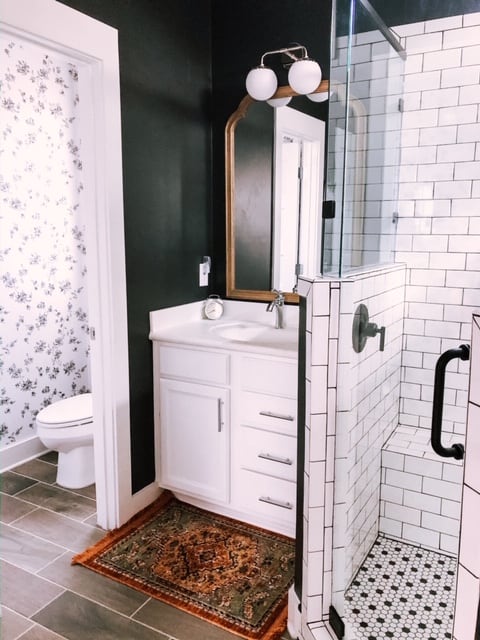
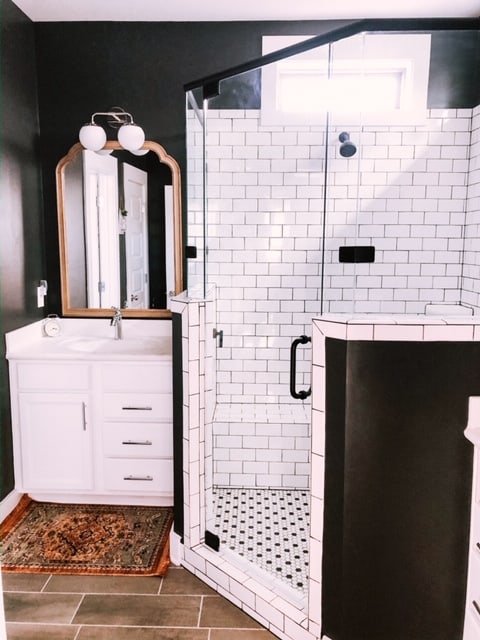
I love the vibe now and it feels much more US!
{Links for most products can be found on my LIKEtoKNOW.it page. Sources: subway tile and shower floor tile are from Lowes; rugs are from Target; bathroom mirror (similar) is from Target; shower heads are from Amazon; wallpaper is from Home Depot); light fixtures are from Shades of Light}

Shop This Post