
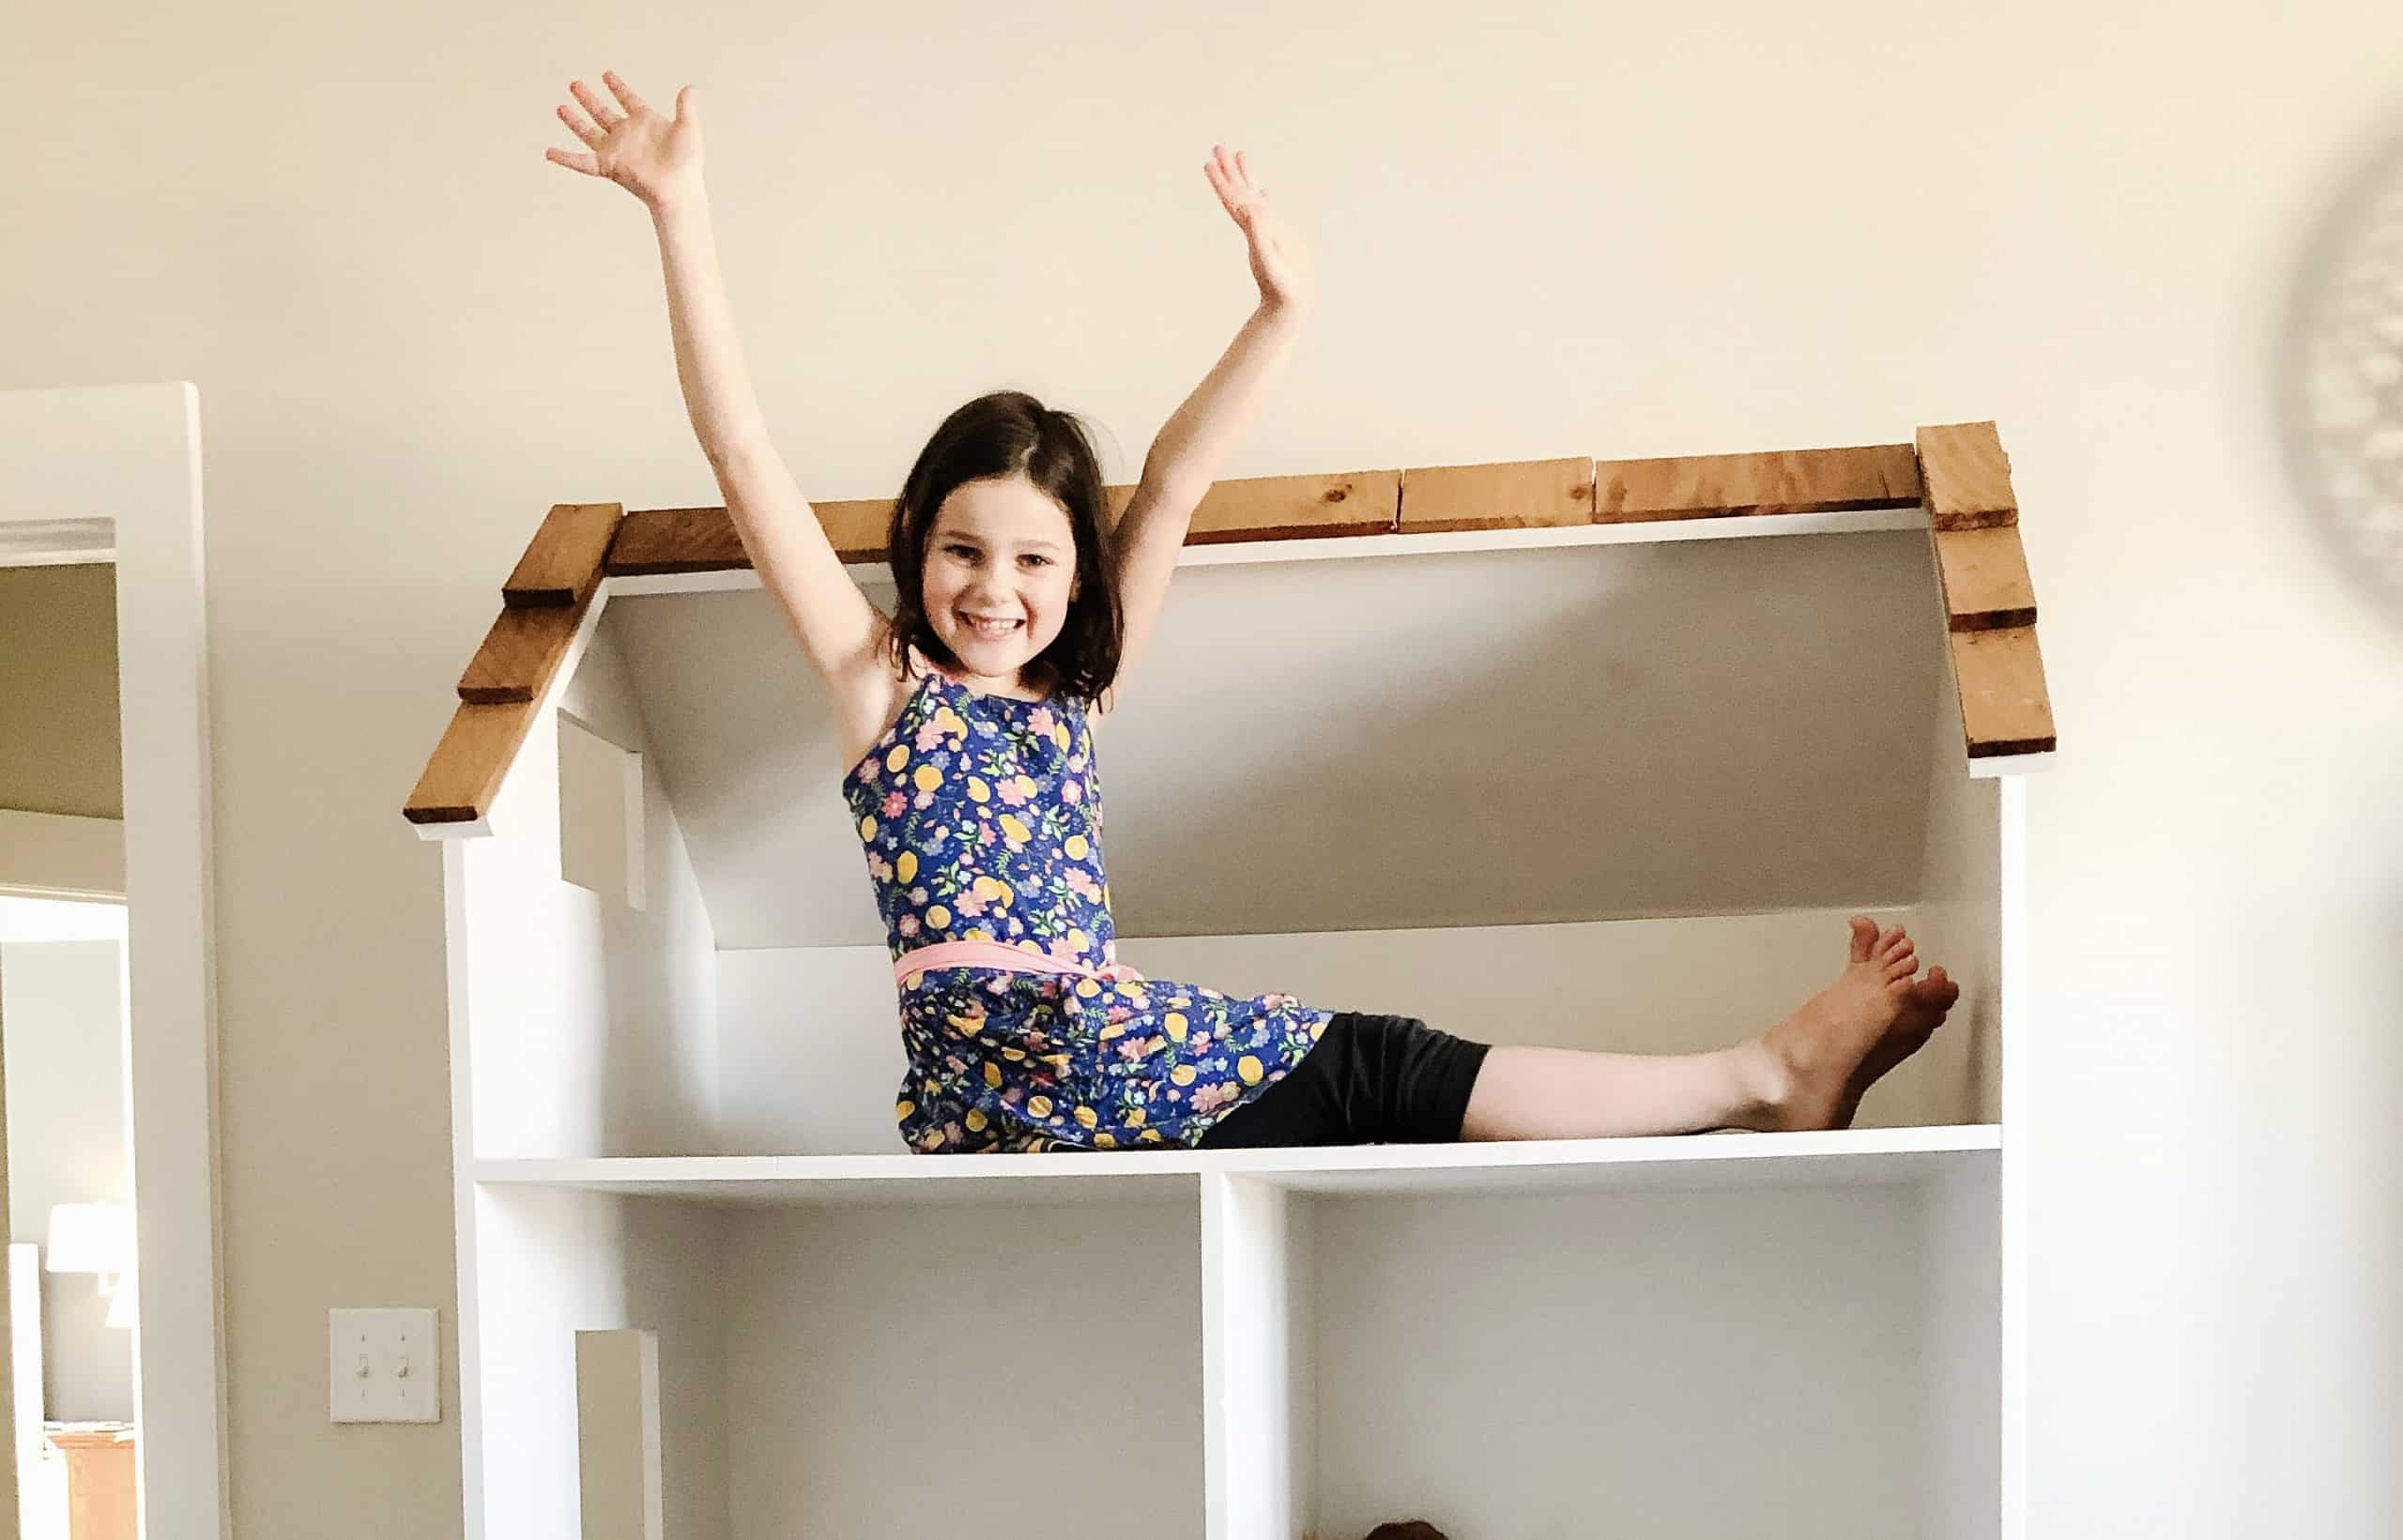
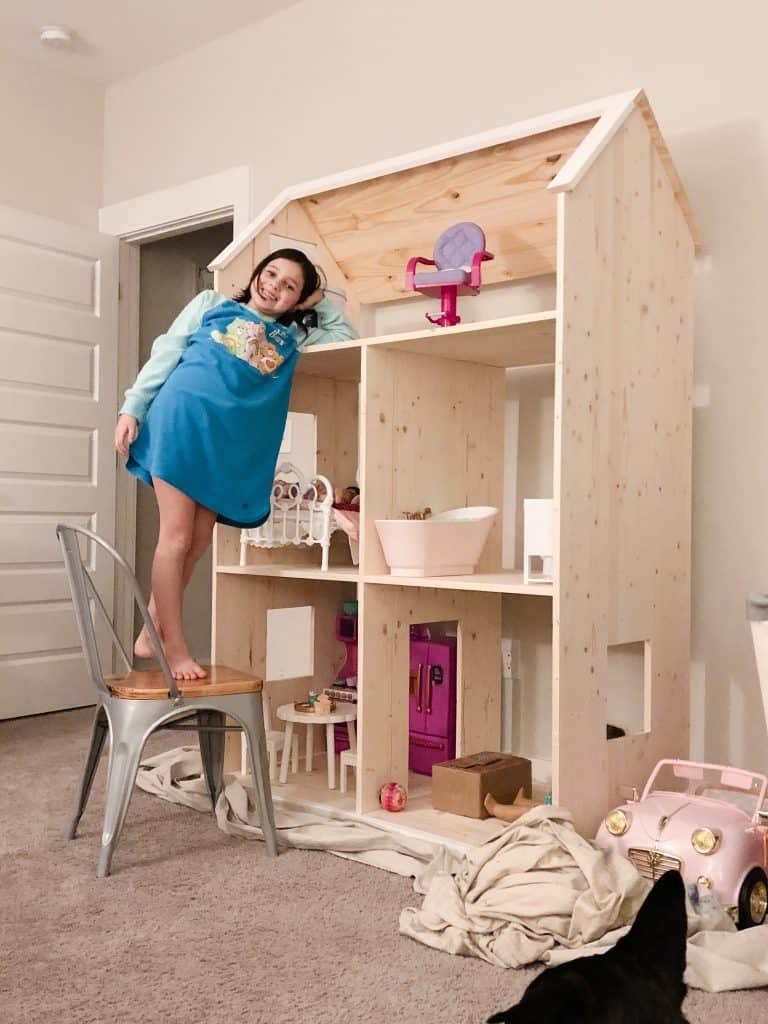
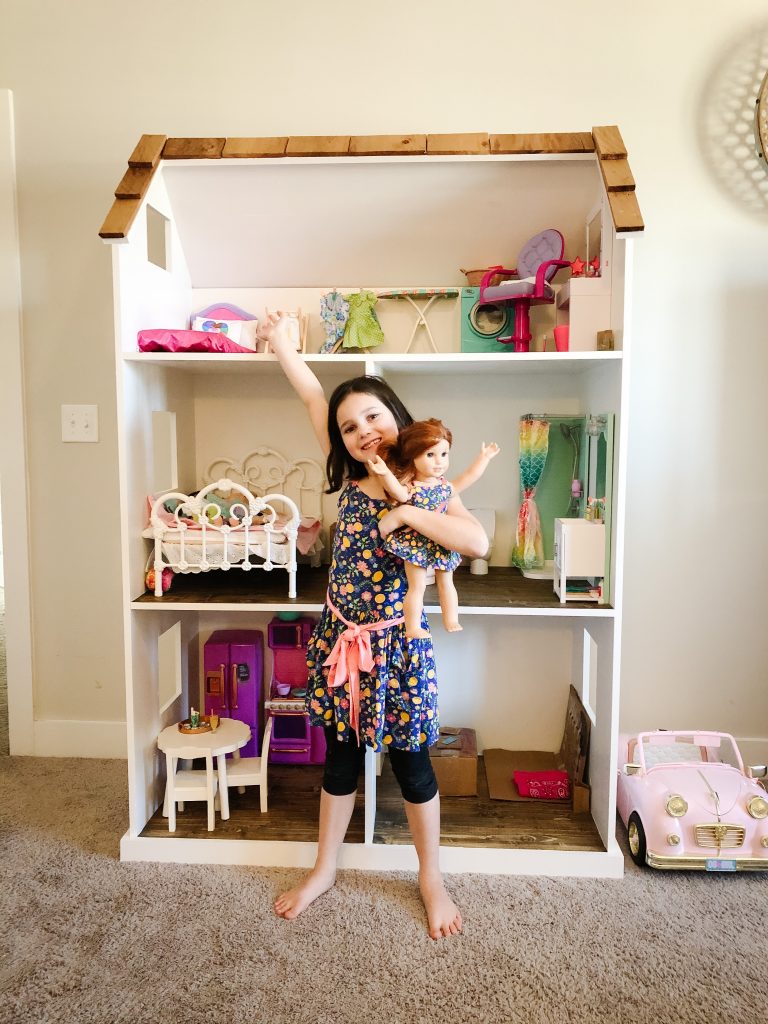
Audrey’s DIY Dollhouse!
It’s a giant dollhouse! Giant! Created just for Audrey’s 18 inch American Girl dolls and their many, many accessories.
Our first project of 2021 is complete, and y’all, I never would have guessed that it would be a DIY American Girl Dollhouse. I wouldn’t have imagined it. It wasn’t even ON our project list. It wasn’t on our radar. It wasn’t something I wanted. But. Things change. Sometimes quickly.
One afternoon this past December, I sat on the floor wrapping Christmas presents and thinking about the ridiculous amount of American Girl and 18-inch-doll accessories and furniture that Audrey had accumulated over a short period of time. And, at that very moment, I was wrapping up even more. Her bedroom floor had become a playhouse of sorts and it was impossible to keep tidy. There just wasn’t a home for all of her doll items. It was driving me nuts! I like things tidy and organized, but I do give a lot of grace … especially in the kid’s bedrooms. Especially to Audrey. She’s my child that actually plays. She plays with her toys. All. The. Time. So, grace is given. Her room isn’t exceptionally tidy. I try to be okay with it. I try. But, the doll accessories had gotten way out of control. They were taking over. It was too much. It felt messy. We needed a solution. They needed a home. I like things to “have a home” – it’s the way I keep everything orderly. But, this time the “home” they needed was an actual home … a house. A dollhouse. A giant dollhouse!
And, so it was. Ryan and I made a plan. We made a space. Because, y’all, this house is big. Space is required. We cleared a spot in our upstairs family room – the room that is All.The.Things. for our family (the playroom, TV room, school room, etc.) and we got to work.
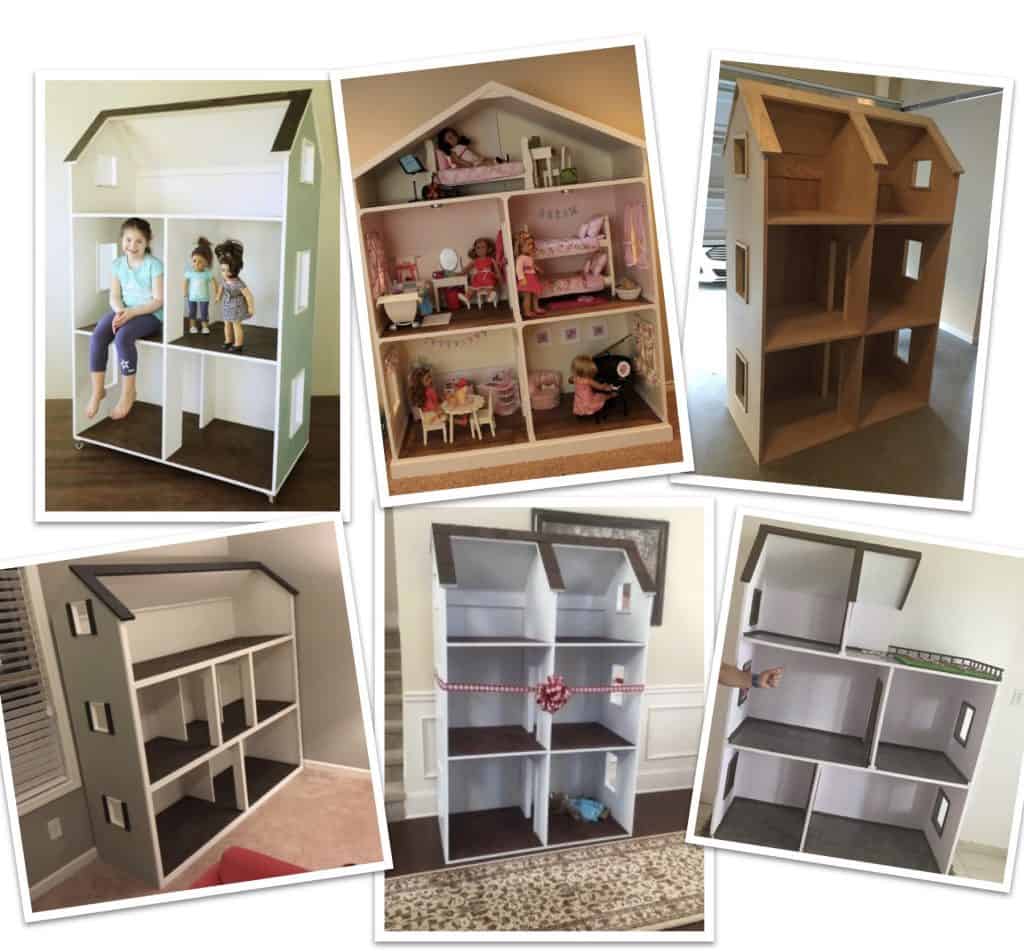
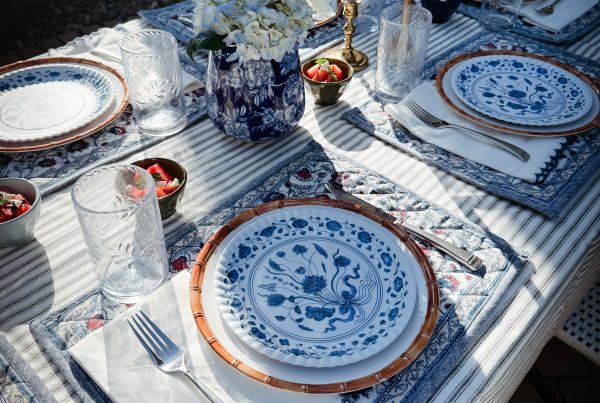
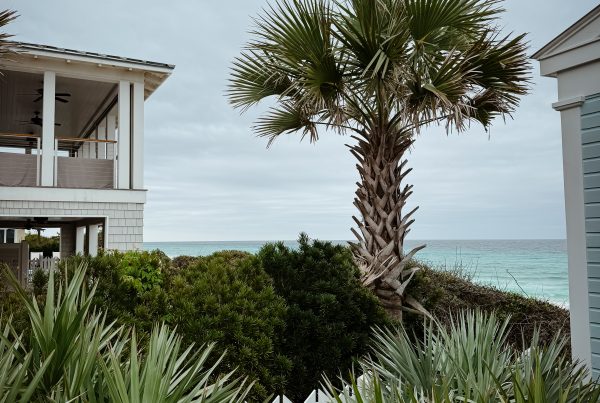
First up – inspiration. I gathered a few images from Pinterest (shown below) that reflected what we wanted. Then, we discussed what we didn’t want (bright colors were on my list – lol). We knew it needed to be big enough for Audrey’s 18 inch American Girl dolls. We knew it needed enough rooms for a kitchen, bedroom, bathroom, living room and laundry/miscellaneous items. We knew we wanted it to go with the rest of our family room as much as was possible for a giant dollhouse to actually blend in! Wishful thinking.
After I was inspired and almost, kinda excited … and Ryan was on board, we got to work and here’s our play-by-play …
Plans Used: We landed on Ana White’s 18 Inch Dollhouse Plans and used that as our starting point. Ryan followed this do-it-yourself plan, for the most part, but tweaked a few things to make it work better for Audrey and her dolls. Before cutting the interior doorways and the exterior windows, for example, he had Audrey look over everything and explain how she would use each room and where she wanted her furniture to go. Because of this, we opted to only include one interior door and we left off several exterior windows.
Materials Used:
- 5 pieces of 1 x 24 x 6ft white pine shelving. (you could opt to use 3/4″ birch plywood, but Ryan chose the 1 x 24 to avoid the need to rip down the plywood).
- Full sheet of 1/4″ plywood
- 1 x 18″ white pine shelving for the back of the roof
- 1 x 3 for front roof and base
- 1 x 2 cut to the size of the windows for the shutters
- 1 bundle of cedar shingles for the roof
- Liquid Nails
- Walnut stain for the floors, along with a satin poly
- Sherwin Williams Snowbound paint for the interior and exterior
Tools Used:
- Kreg Jeg and 1-1/4′ kreg jeg screws
- drill
- mitre saw
- circular saw
- jig saw
- finishing nail gun
- roofing nails
- square to cut the angles and draw out the windows
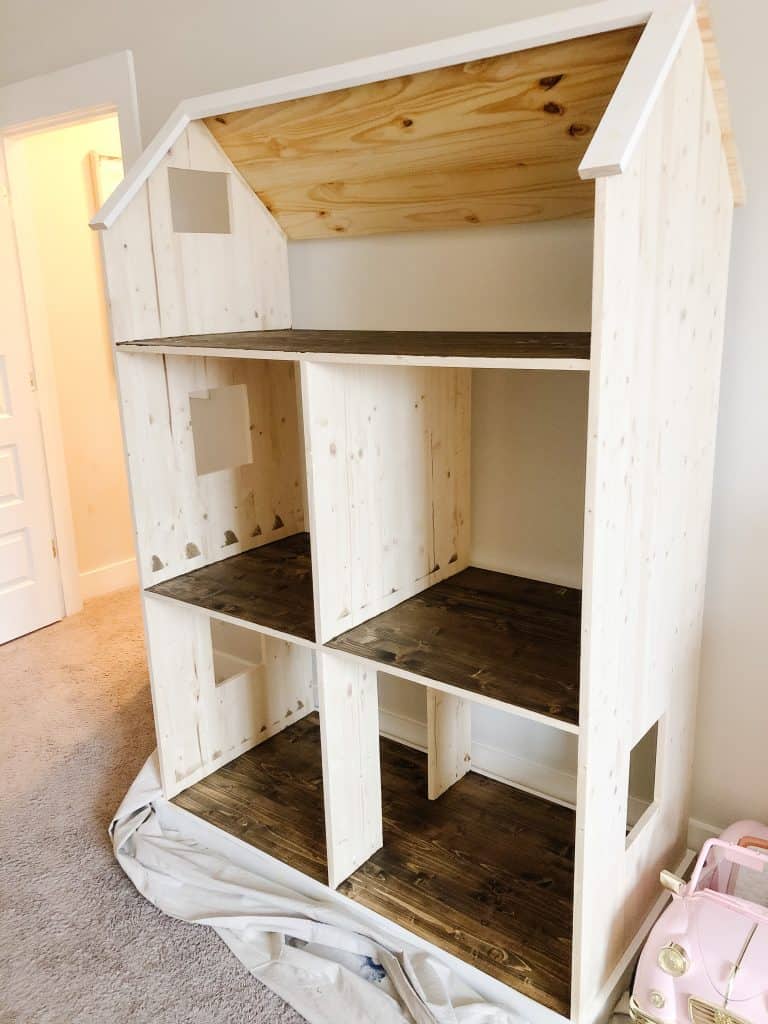
Steps Taken (in Ryan’s own word):
- Measure and cut the angle for the roof pitch. Find the middle of the board and use your square to get the proper angle and draw out the lines.
- Clamp the boards together and use the circular saw to cut the angles
- Floors – cut the remaining three pieces to 4ft for bottom, middle and top floor. Use two of the remaining 2ft cut offs as the dividers for the first floor and second floor.
- Drill the pilot holes with kreg jeg
- Assemble – Set all pieces on edge and screw together sides to floors, and room dividers
- Assemble – Roof
- Base – use 1 x 3 to wrap the base of the house
- Back – cut 1/4″ plywood to fit the back and screw on.
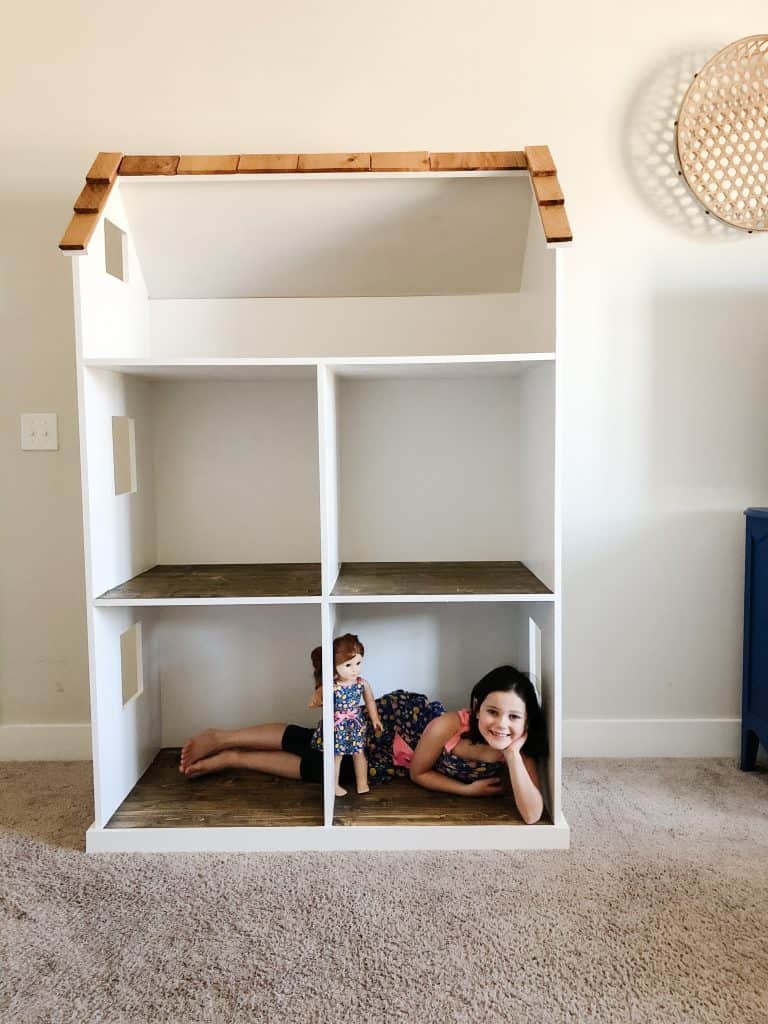
- Roof – nail on cedar shingles. We used real roofing nails, but a nail gun can be used. We used liquid nails to glue on the top pieces.
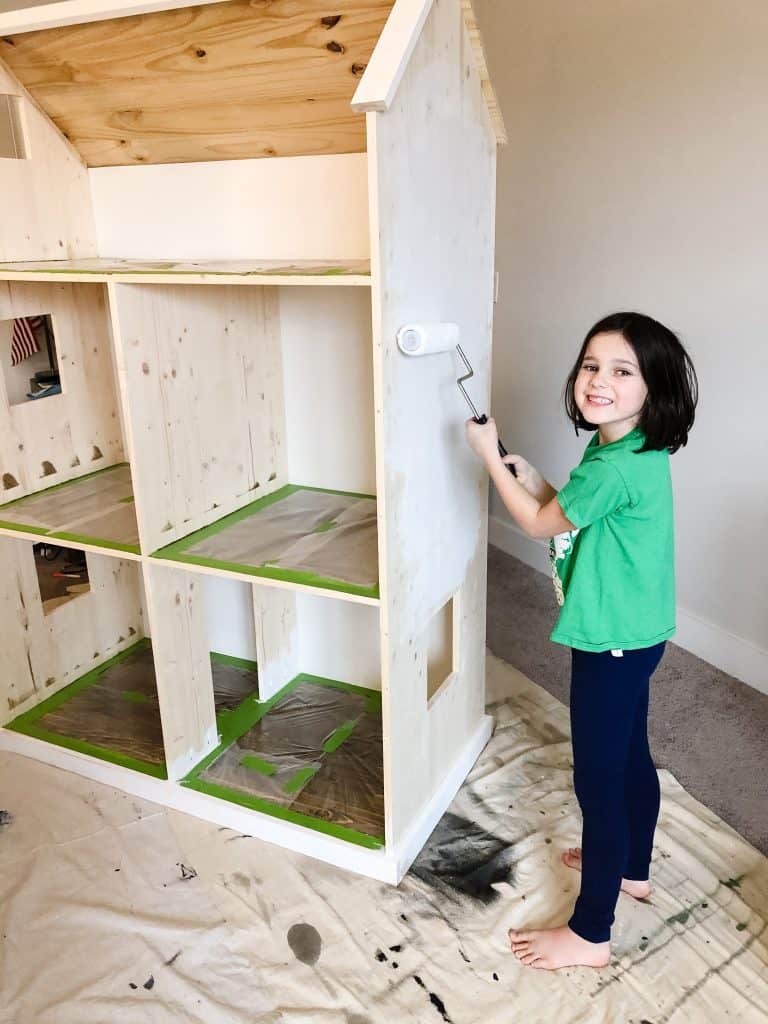
- Paint/Stain – first stain the floors dry and add poly for finish. Tape and cover the floors. Paint the house. Separately paint the pieces for the shutters. Tact on the shutters with a nail gun once house and shutters are dry.
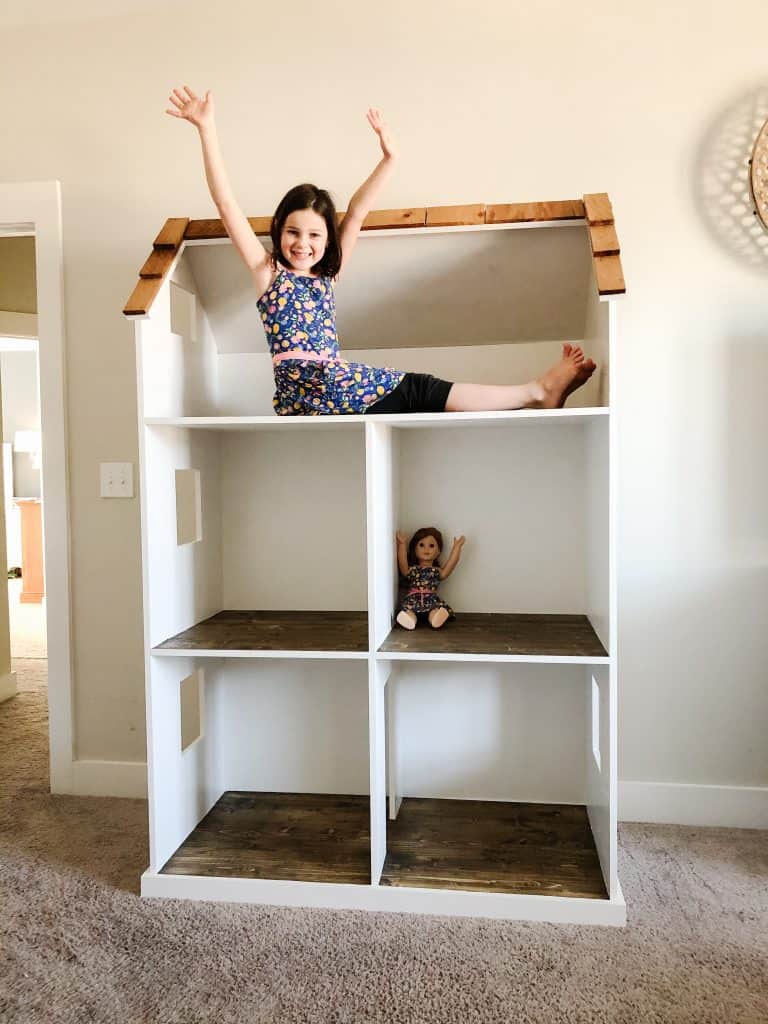
- Let your child play with it! 🙂
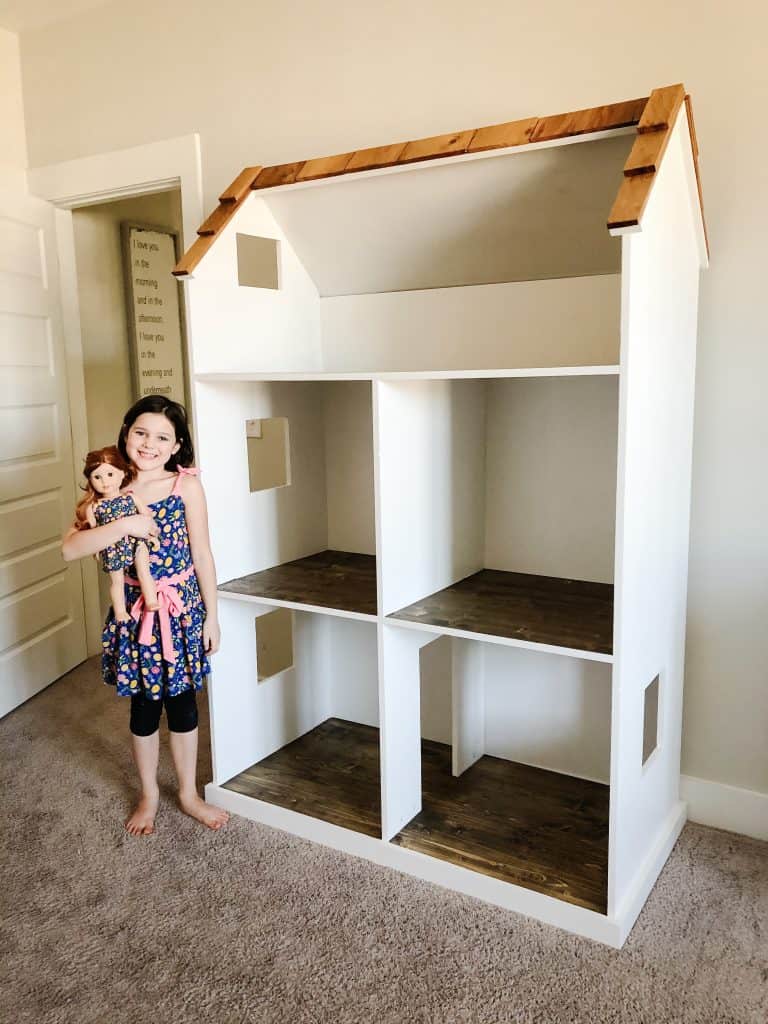
What’s new: Since snapping these photos, we added black shutters to the exterior windows and built a garage for Audrey’s Our Generation Car. Audrey and I bought a roll of fake grass from Hobby Lobby and glued it to the roof of the garage. Her Our Generation doghouse and dog now have a home/yard above the garage!
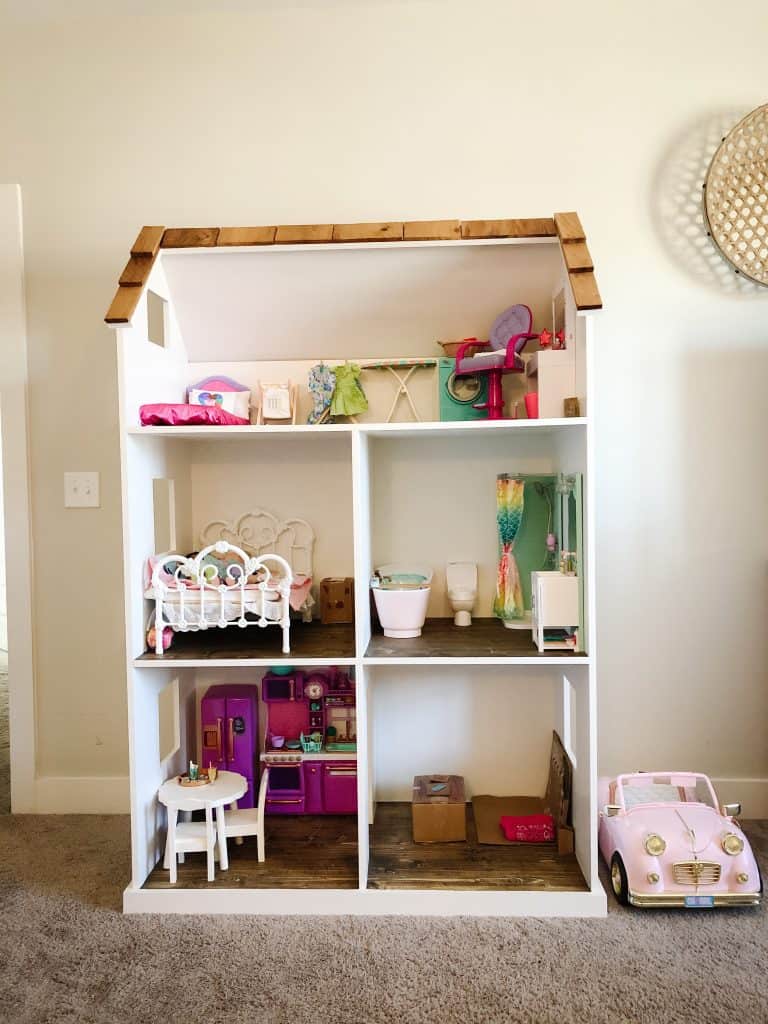
It’s done! We are all happy with how it turned out. Audrey is thrilled! Her room and floor are tidier and it’s easy for her to pick everything up once she’s done playing … because it all has a place to go now. Yay! And, while it does take up a lot of space, it’s not as bad as I imagined and I don’t mind it. It’s pretty great actually and I’m so glad that we built it for her!
Visit us at @ellebeelovely on Instagram for a full tour of Audrey’s dollhouse!

Shop This Post

oh my goodness! Thank you so much for sharing this! My 5 year old daughter is just getting into these dolls and I was already overwhelmed thinking about her Christmas wish list containing these sets and nowhere to put them in our tiny house. While this house is huge, it’s pretty much every little girl’s dream that loves dolls. I’m handy, but I haven’t ever done a project like this before so hoping this mama can pull it off! I think it will be perfect for her and her 2 year old sister to play with for years to come!
I’m so glad you liked this article! I can’t wait to hear how your house turns out – I know they’ll love, love it! It IS really big BUT I love that it keeps all of the doll accessories and furniture out of the floor and pick-up is easy. It’s a win!
Is there anything you would change with the doll house now that she has been using it? We are building one the same heights of each floor and the total but a little longer(room for a car, and 2 end slots to hold 2 of those fold out AG rooms when they are closed up, spa/hotel) and I’d love to hear any feedback! I’m making part of the roof a patio and planning to put a tension rod in the top area to hang clothes.
Honestly, no. It’s functioned really well and she changes the rooms around as she wants. It’s been great!
Are you able to tell me the dimensions of the rooms and the top floor
What was the approximate cost in materials to make this? How many hours would you say it took to complete? Could an average type handy person make this?